


 Login
Login


Products
Solutions
Applications


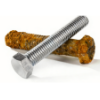
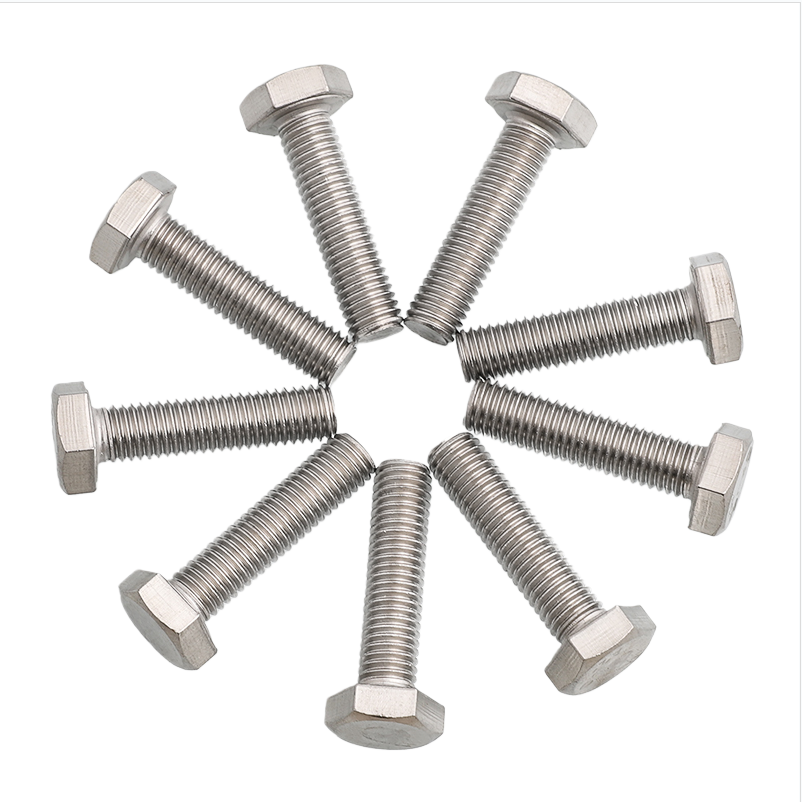
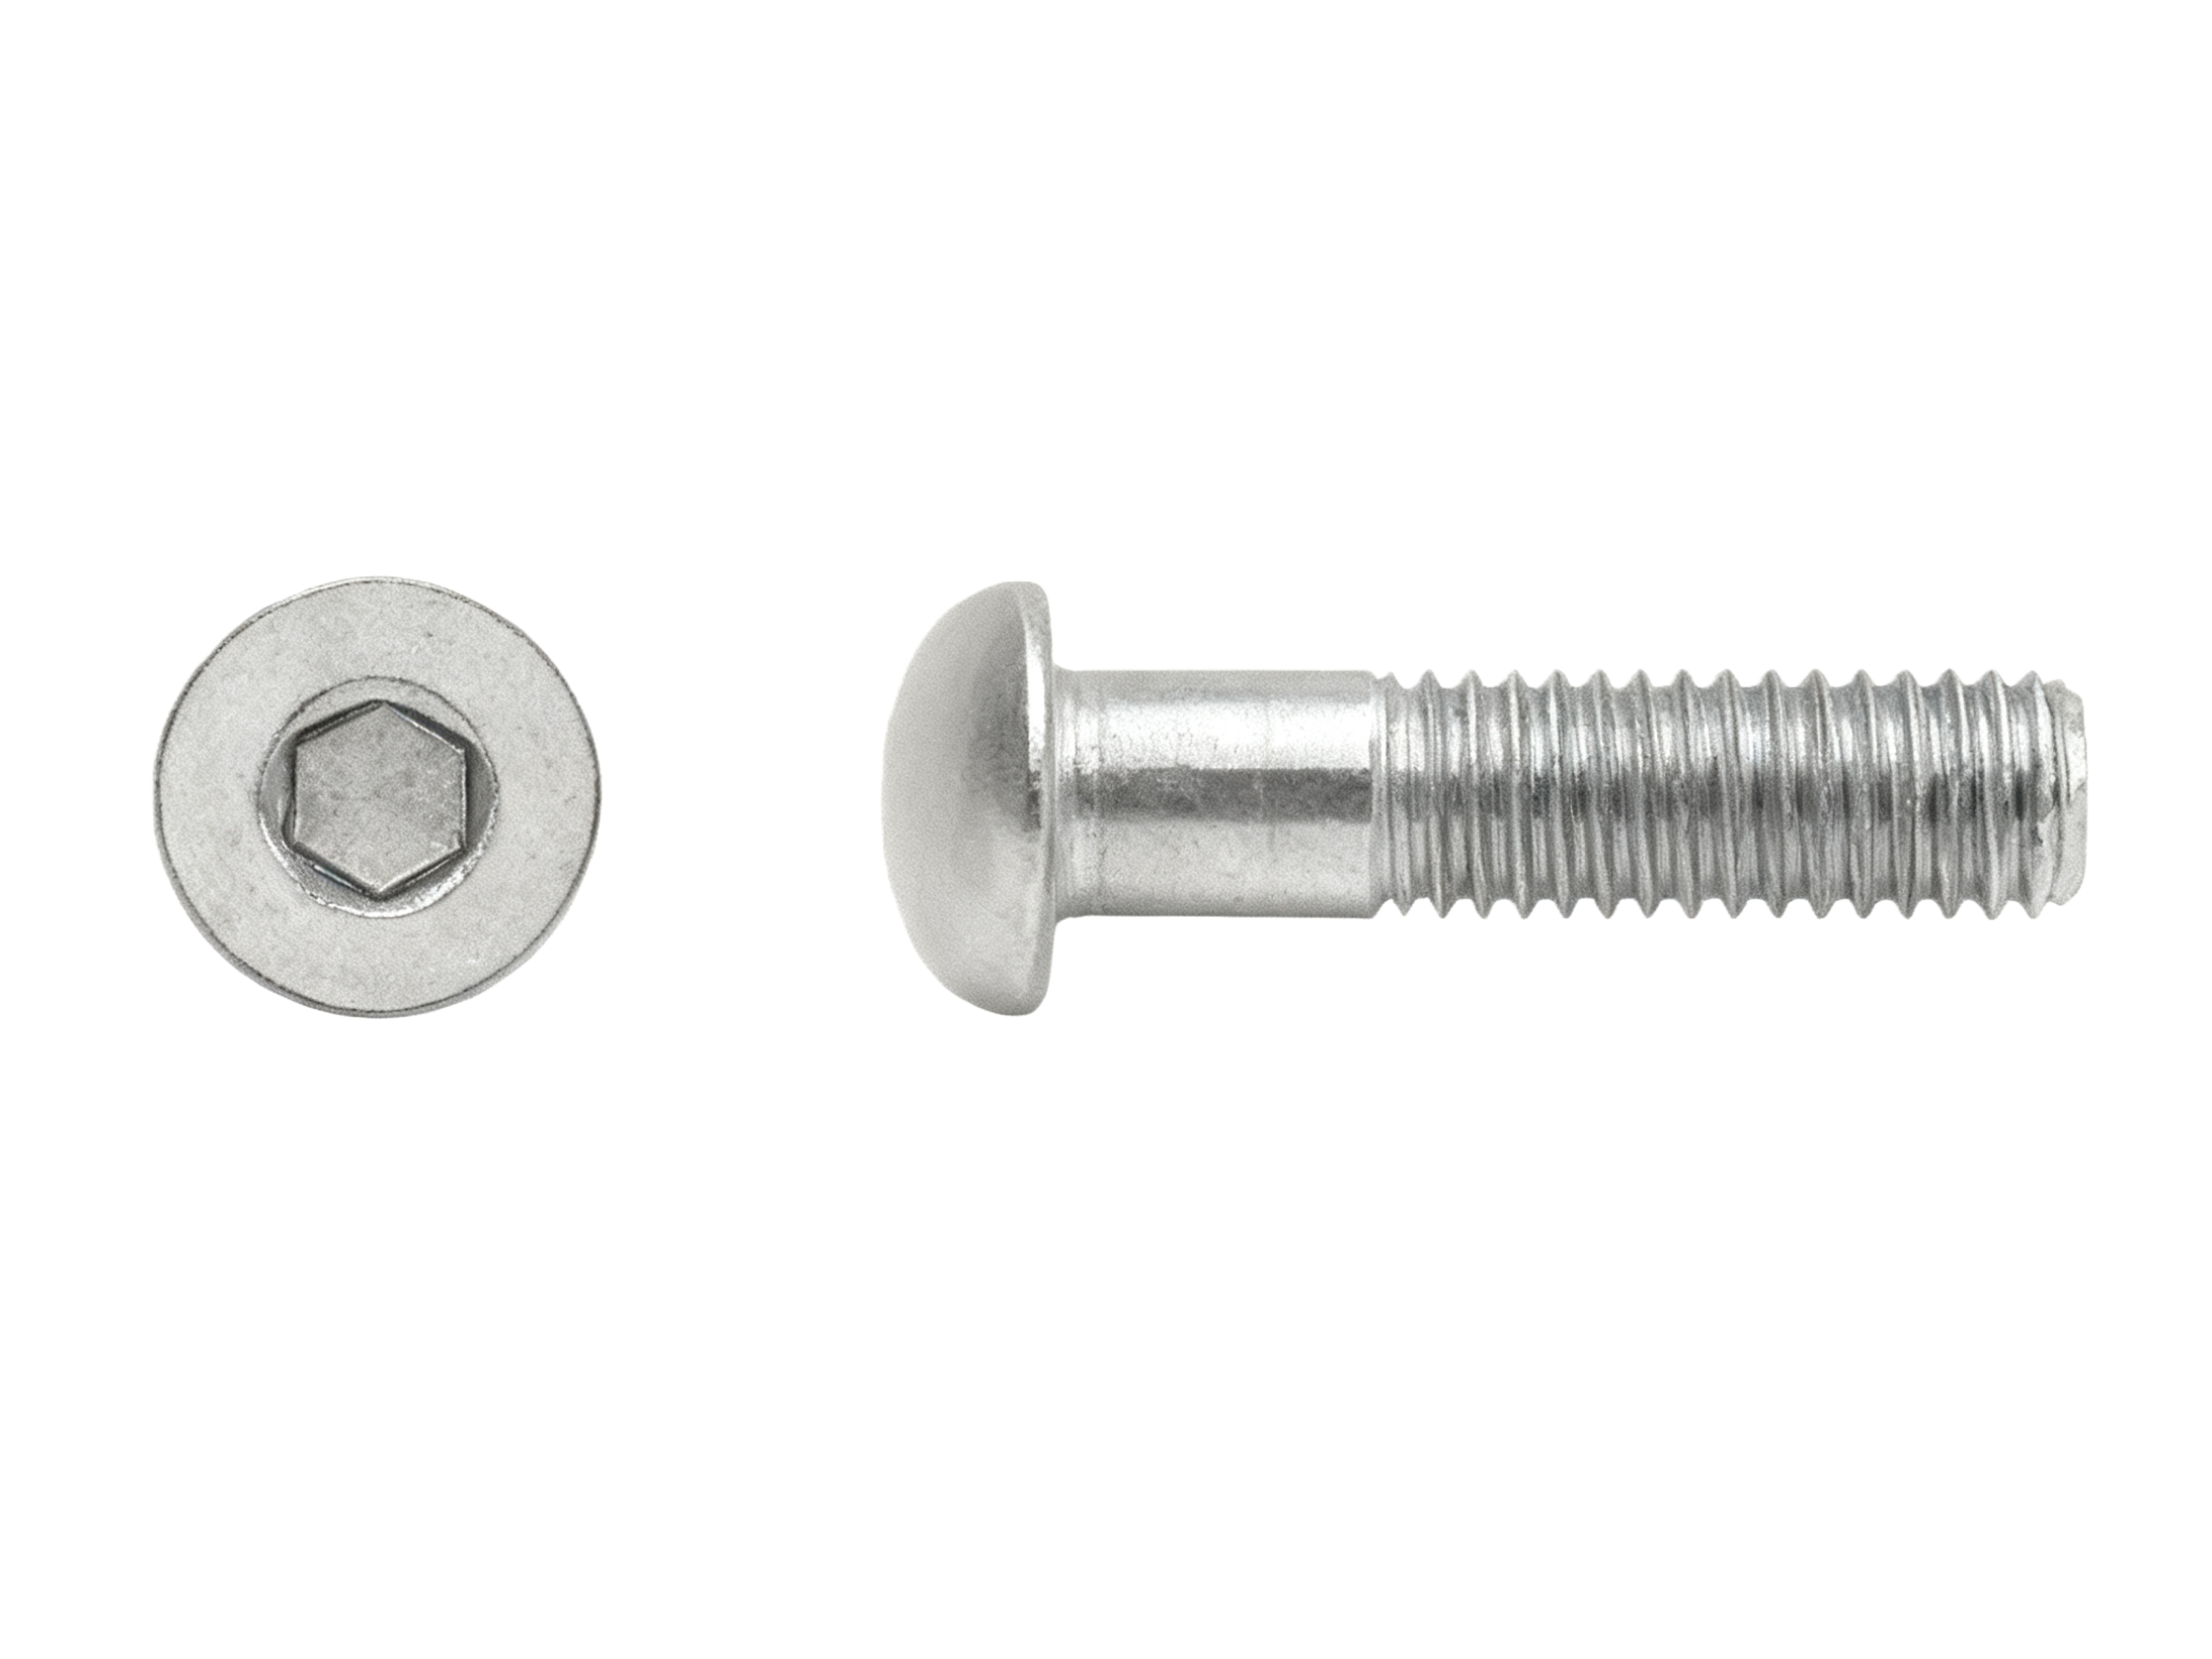
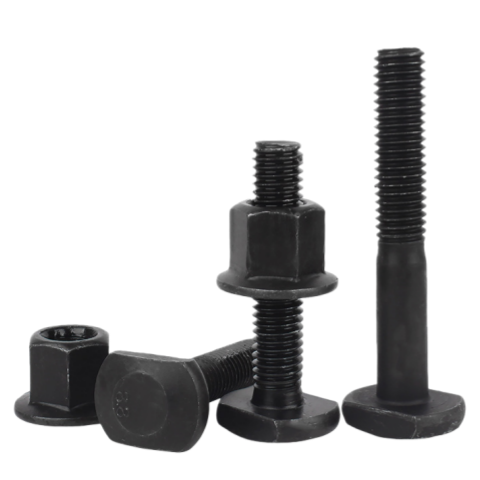
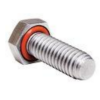
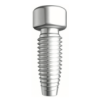
Among the fastener family, self-tapping screws have become indispensable in both daily life and industrial applications thanks to their unique advantage of requiring no nuts. From furniture assembly and appliance installation to construction finishing and equipment maintenance, they can be found everywhere. Their core appeal lies in their self-tapping capability. When driven into a pilot hole in ductile metal or non-metal materials, they form matching internal threads through extrusion, creating a secure connection. Taps, as a special category, are specifically designed to cut threads in metal holes, further expanding the application scenarios of self-tapping screws. However, many people struggle in practice with tool shortages or improper methods. This guide breaks down the techniques for driving self-tapping screws.
Understanding the Core Principle
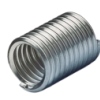
To master driving techniques, you must first understand the core principle of self-tapping screws. Unlike ordinary screws that rely on nuts for locking, self-tapping screws have specially designed thread profiles with smaller flank angles and denser pitches. These features generate sufficient extrusion force on the inner wall of the pilot hole during driving. For ductile materials such as plastics and aluminum alloys, this extrusion causes the hole wall material to deform plastically, naturally forming internal threads that match the screw. For harder metals like steel, a pilot hole must first be drilled, and then a tap is used to cut precise internal threads, preparing the hole for subsequent screw connection. Understanding this principle allows you to select the appropriate method based on material characteristics.
Manual Driving Method
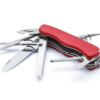
The manual method is suitable for small batches, small-diameter self-tapping screws, and tight spaces. It is the first choice for home DIY. Common tools include Phillips or flathead screwdrivers and hand tap wrenches. Using a plastic assembly as an example, proceed as follows:
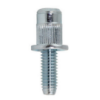
First, select a screwdriver that matches the screw head. A magnetic tip is recommended to hold the screw for easy positioning. Next, drill a pilot hole at the connection point. The hole diameter should be 1-2 mm smaller than the screw's nominal diameter. A hole that is too large will cause thread stripping, while one that is too small may crack the material. Then, align the screw with the hole, hold it vertically with the screwdriver, and turn clockwise slowly. Apply steady force at the beginning. After 3-5 turns when the threads have initially formed, you can increase speed slightly until the screw head is flush with the material surface and secure.
Power Tool Driving Method
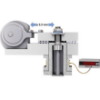
The power tool method is more efficient, suitable for large-volume work or harder materials. Common tools include power screwdrivers and impact drivers. For metal installations requiring threads cut with a tap, first use an electric drill with a twist bit to create the pilot hole. Then, mount the tap in a hand tap wrench and feed it vertically into the hole. Turn one to two turns, then reverse half a turn to clear chips. After threading is complete, switch to a power screwdriver with the self-tapping screw. Set the tool to medium-low speed to avoid stripping the threads. Keep the tool perpendicular to the material. As the screw approaches full engagement, reduce to low speed to prevent over-torquing that could damage the screw or material.
Key Precautions
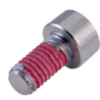
Regardless of the method, the following precautions significantly improve connection quality. For material matching, choose fine-thread self-tapping screws for brittle materials like plastic. For metal materials, prioritize thread cutting with a tap first. Hole size control is critical. Adjust through trial driving. If the screw feels too loose, use a smaller drill bit. If too tight, use a larger one. If significant resistance is encountered during driving, do not force it. Back out the screw and check for debris or hole size deviation. For harder materials, apply a small amount of lubricating oil to the screw tip to reduce friction. After completion, check connection security. Lightly test the screw with a screwdriver. If there is no movement and the head is undamaged, the connection is sound.
Professional consultant team online, ready to provide solutions for you
Contact NowProducts
Solutions
Applications
Contact
 Contact
 WeChat
Contact: Manager Fan - Tel/WeChat: 135-6073-0094 Email: Flora.Fan@toprecision.com | Manager Ao - Tel/WeChat: 13560729614 Email: Olia.Ao@toprecision.com
Sales Director: Mr. Zhang - Tel: 13510369429 Email: xiaowei.zhang@zcjtech.com
© Copyright 2011 - 2026 Shenzhen Toprecision Precision Technology Co., Ltd. All Rights Reserved.
 粤ICP备2025493240号-1


Cutter Screws
Thread Inserts
Sealing Products
Riveting Products
Locking Products
Direct Assembly

SMT Components
Precision Screws

Screwdriver Bits